US-International tutorial (Windows 7 Control Panel)
The US-International layout will help you type in many different languages that use the Latin script. It is configurable from the Control Panel in Windows 7.
Firstly, open the start menu and launch the Control Panel.
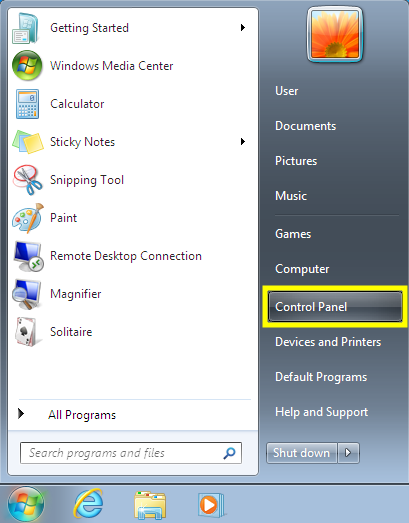
Go to the Control Panel
Now, click "Change keyboards or other input methods" in the "Clock, Language, and Region" category. This will take us to the Region and Language configuration window.
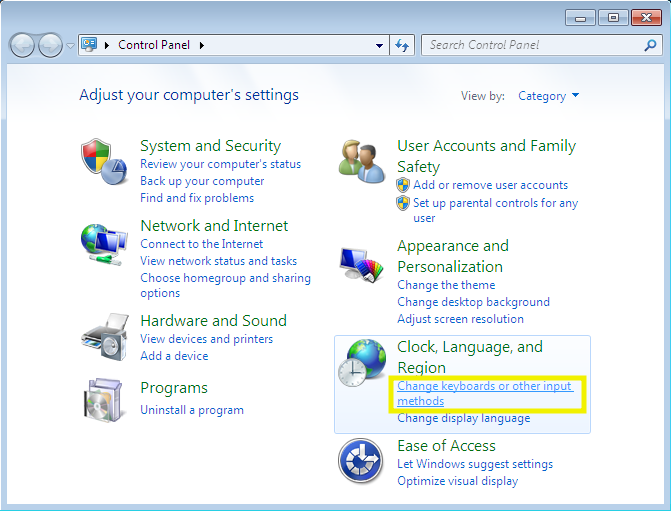
Find the needed category
In the Region and Language configuration window, click "Change keyboards..." in the Keyboards and Languages tab. You'll be greeted with another configuration window.
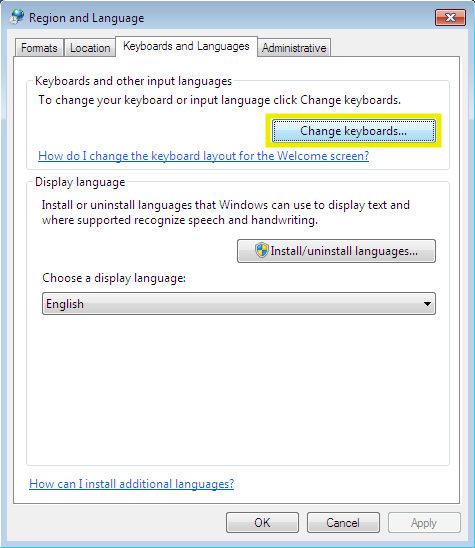
Go to another configuration window
Then, when you are in the "Text Services and Input Languages" window, click "Add..." to go to the layout chooser
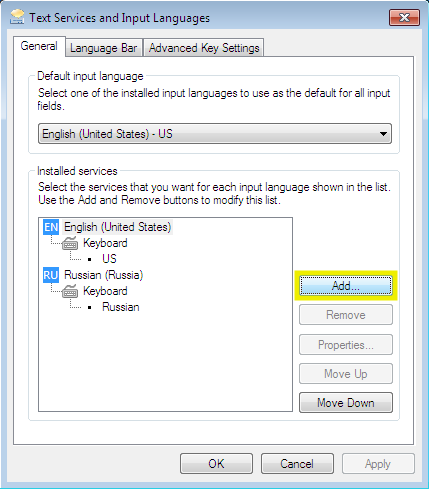
Add another layout
In this list, find "English (United States)" and expand it. Check "United States-International" and hit "OK" to apply the changes and close this window.
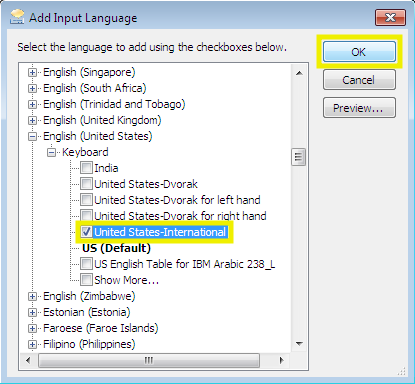
Add the US-International layout
Now you'll have two layouts for English (US). It may not be possible to remove the default US layout from this list. If that's the case, hit "OK" anyway to save your layout preferences.
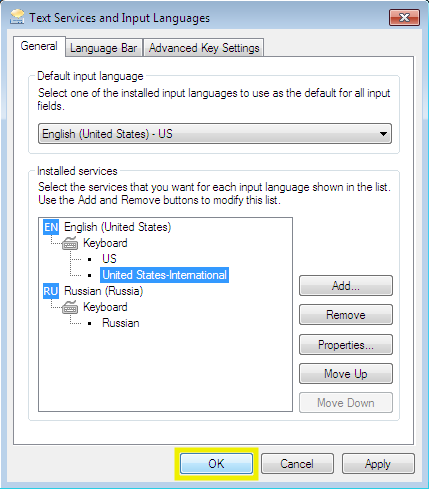
Apply the changes
If you were unable to remove the default US layout, you can now choose which US layout to use in the language bar. Click on the keyboard icon and select the "United States-International" layout. This way, if you frequently change layouts, switching to English (US) will always activate the international layout.
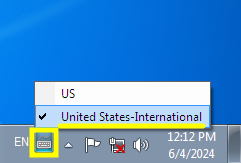
Select the default layout
Enjoy your multilingual typing on a versatile layout!