US-International tutorial (GNOME)
In GNOME, the US-International layout can be easily enabled from Settings.
Firstly, open the system settings and go to the Keyboard page. We'll go ahead and press "Add Input Source" to add an another keyboard layout.
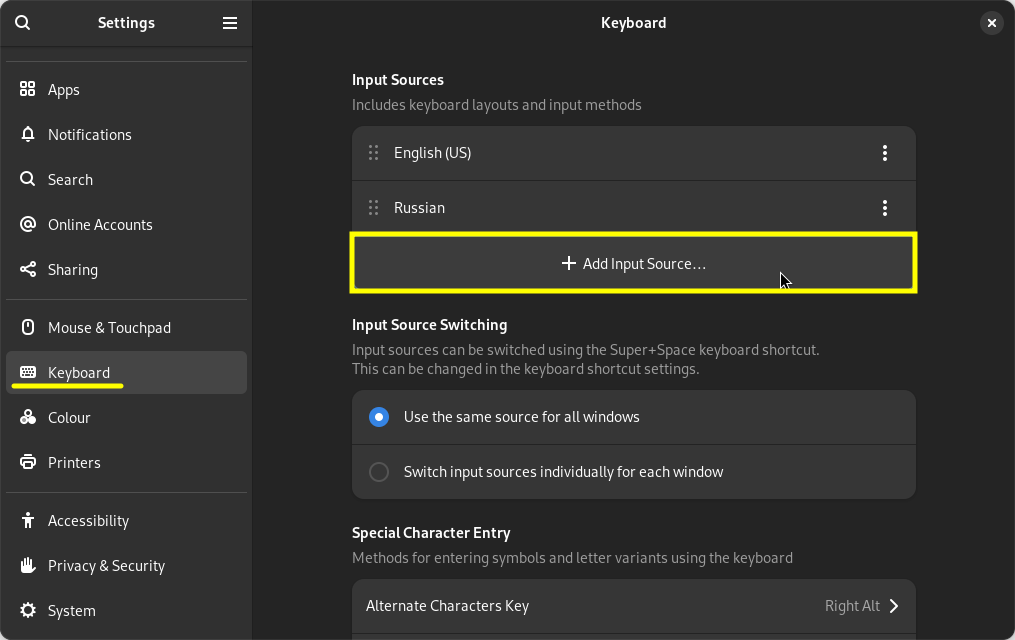
Add a new Input Source
Now, choose "English (United States)" as a language for the new Input Source.
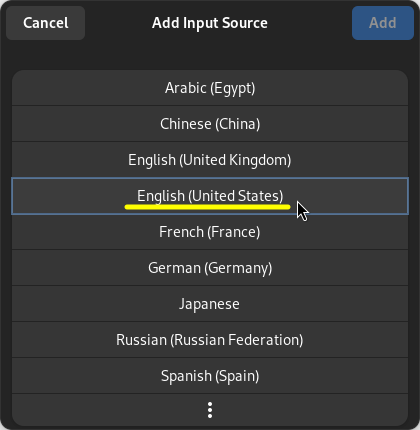
Choose language for the new layout
When you are taken to the page with numerous English layouts, scroll down and choose the "English (US, intl., with dead keys)" layout, as this is the one we are looking for. Click "Add" to enable it.
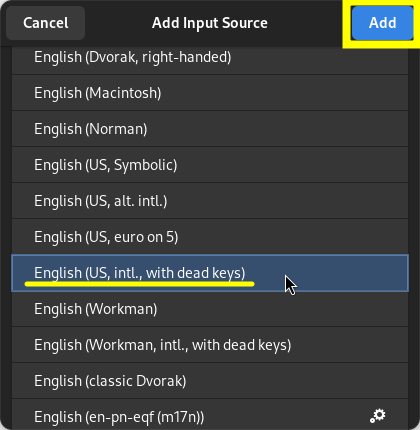
Find the international variant
Then, you may as well delete the default English (US) layout by clicking on the three dots next to it and hitting "Remove" in the opened dropdown. This way you will only be able to use the US-International layout. You can always add the default US layout back the same way as we added the English (US, intl., with dead keys).
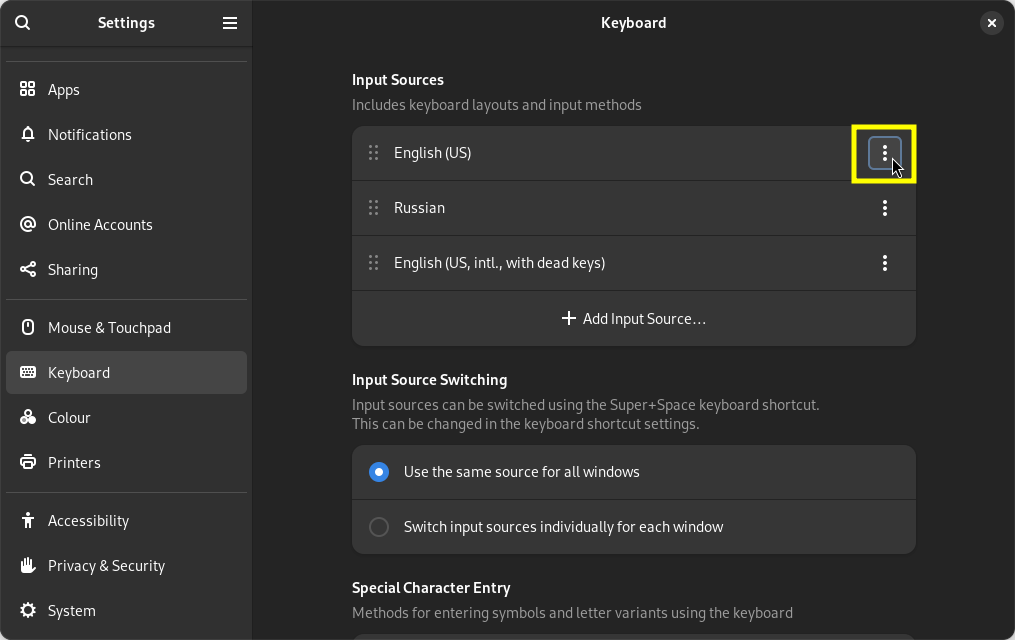
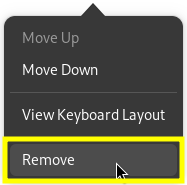
Remove the previous US layout
Enjoy your multilingual typing on a versatile layout!